- by MollyJewelryUS
- April 12, 2026
- Buying Guides
We’ve all been there: standing in front of the mirror with a handful of beautiful chains, only to end up with a cluttered, chaotic mess that feels more like a hardware store than high fashion. Knowing how to layer necklaces with pieces from a high-quality necklace collection is about more than just piling on your favorite pieces; it is a delicate balance of geometry, physics, and personal storytelling.
What is Necklace Layering?
What is Necklace Layering?
At its core, necklace layering is the art of curating multiple chains of varying lengths, textures, and styles into a single, cohesive visual statement. Instead of wearing one standalone piece, layering allows you to build a “jewelry stack” that reflects your personality. When executed with a structured approach, it transforms separate items into a “breathable” luxury look that adds depth to any outfit without feeling overwhelming.
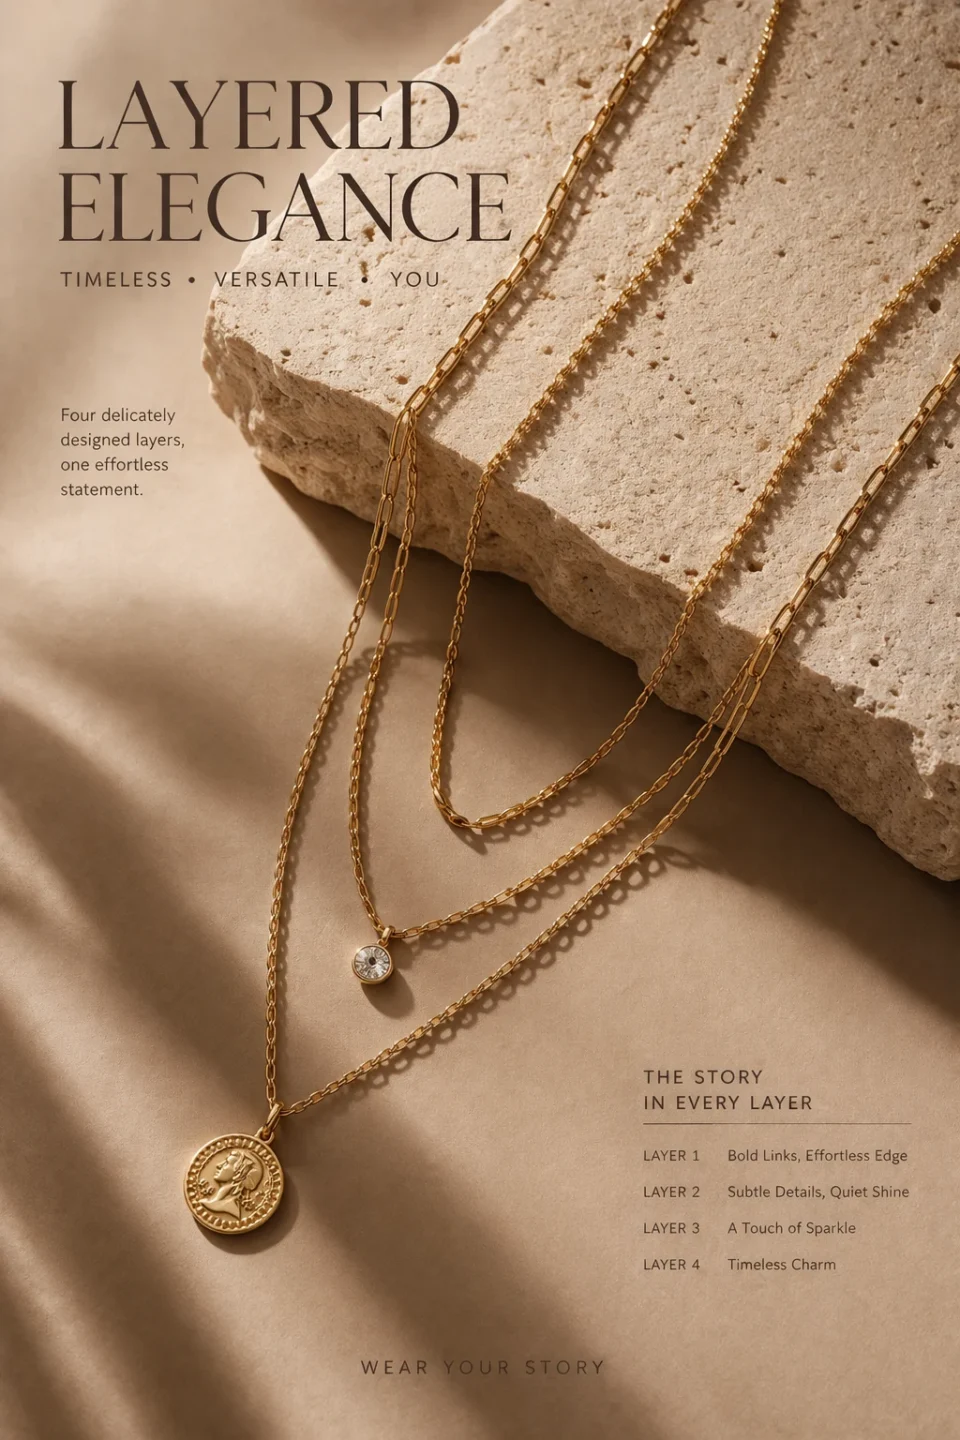
Table of Contents
Pick a Hero Piece for Your Necklace Layering Guide
Pick a Hero Piece for Your Necklace Layering Guide
Every successful necklace layering guide begins with a single point of truth: the Hero Piece. This is the “anchor” of your entire look, preventing your jewelry from competing for attention.
Determining Your Visual Anchor
Determining Your Visual Anchor
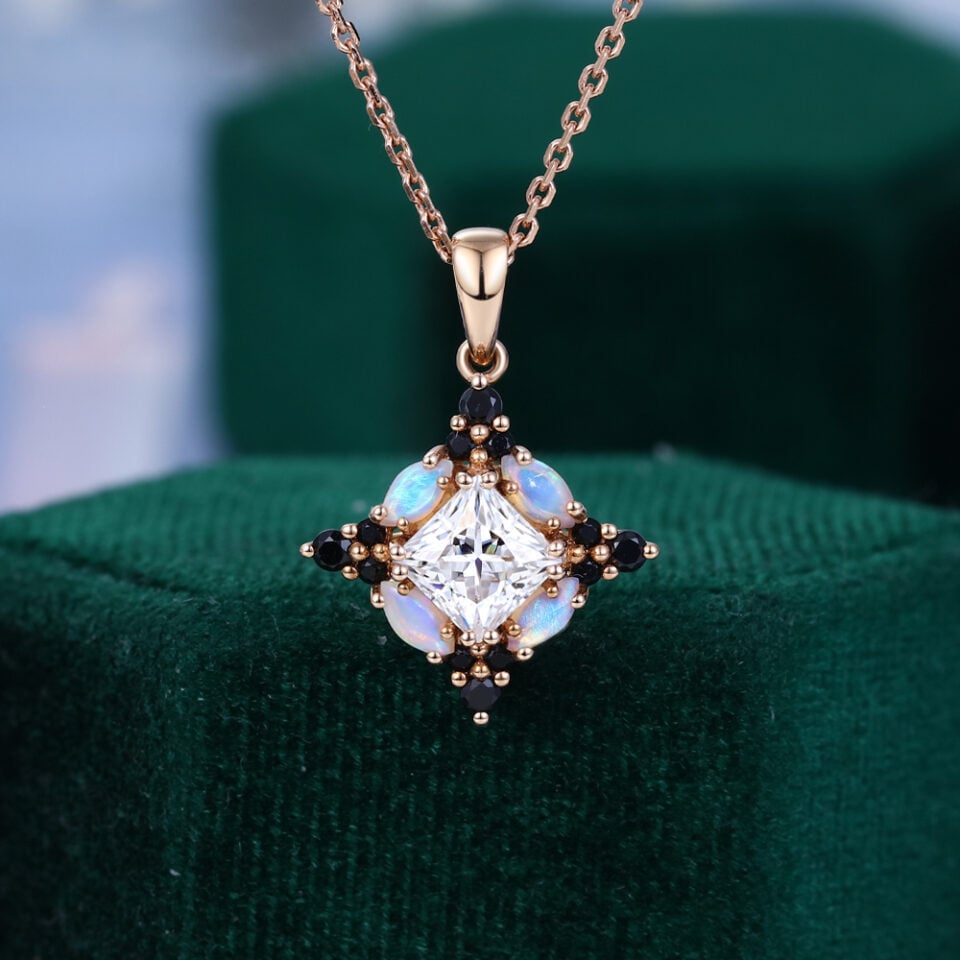
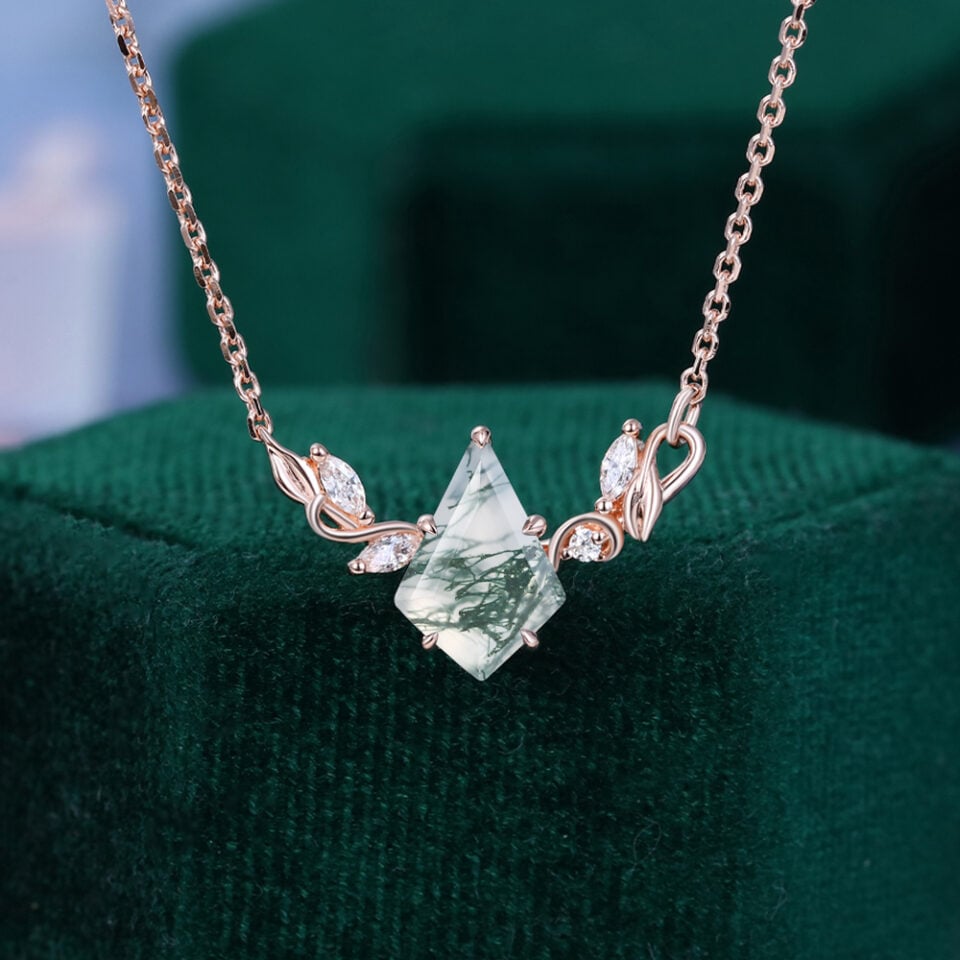
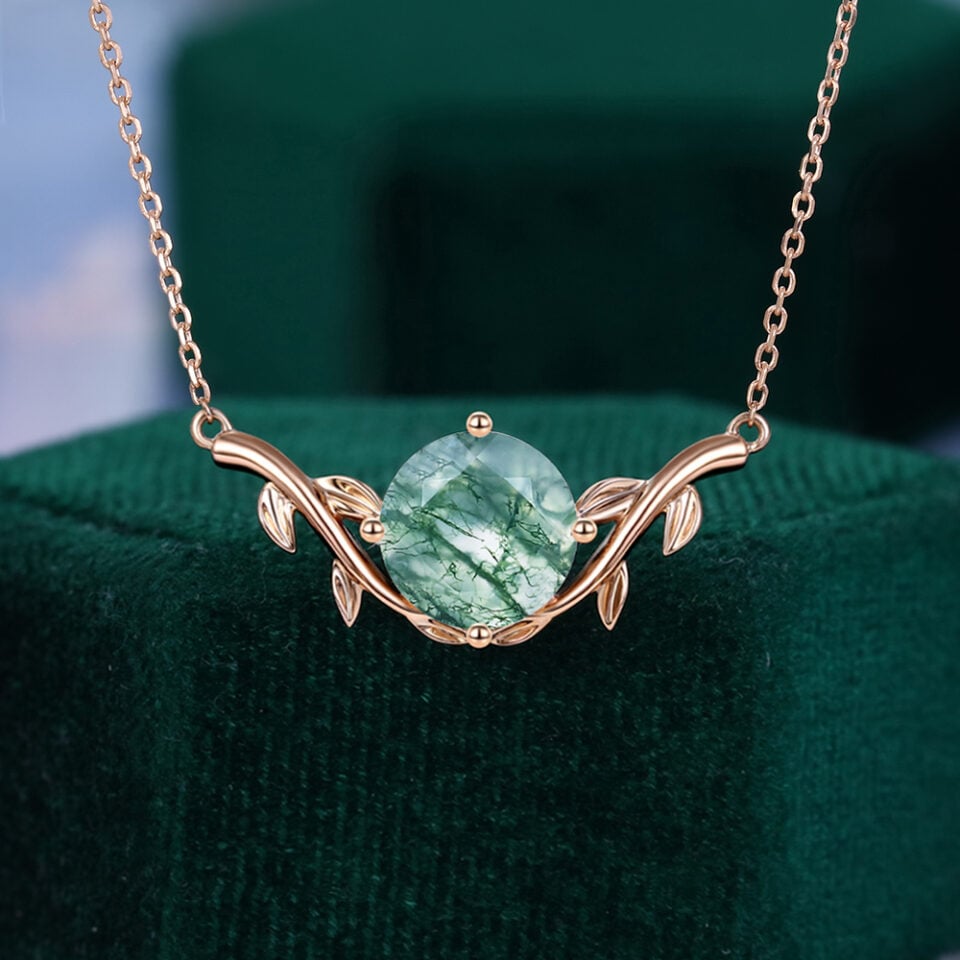
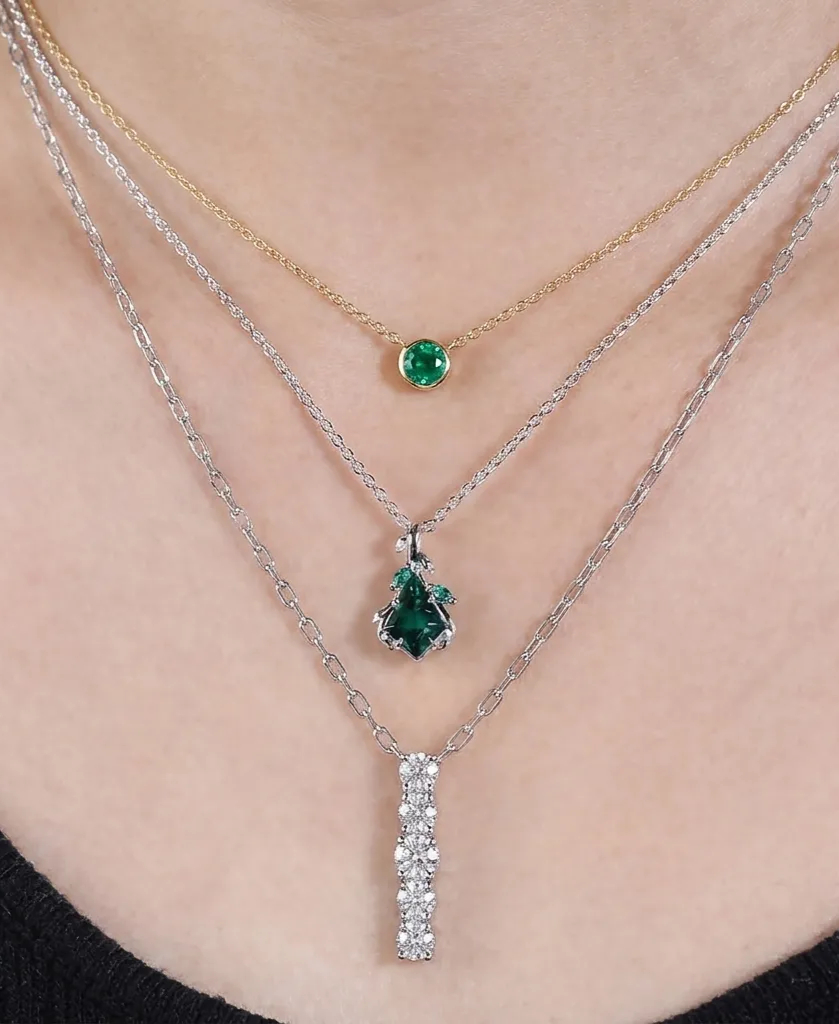
Your anchor should be the most significant piece in the stack—typically a locket, a medallion, or a vibrant gemstone. The type of gemstone matters here: A transparent, high-refractive stone like Moissanite or Emerald creates a sparkling focal point that draws light, while an opaque stone like Turquoise or Black Onyx provides a solid, modern weight to the center of your stack.


Matching Your Anchor to the Neckline
Matching Your Anchor to the Neckline
| Neckline Type | Recommended Hero Piece | Visual Effect |
|---|---|---|
| Deep V-Neck | Long Pendant (18″-20″) | Creates a slimming vertical line |
| Crew / Round | Bold Link Chain (16″) | Frames the face with structure |
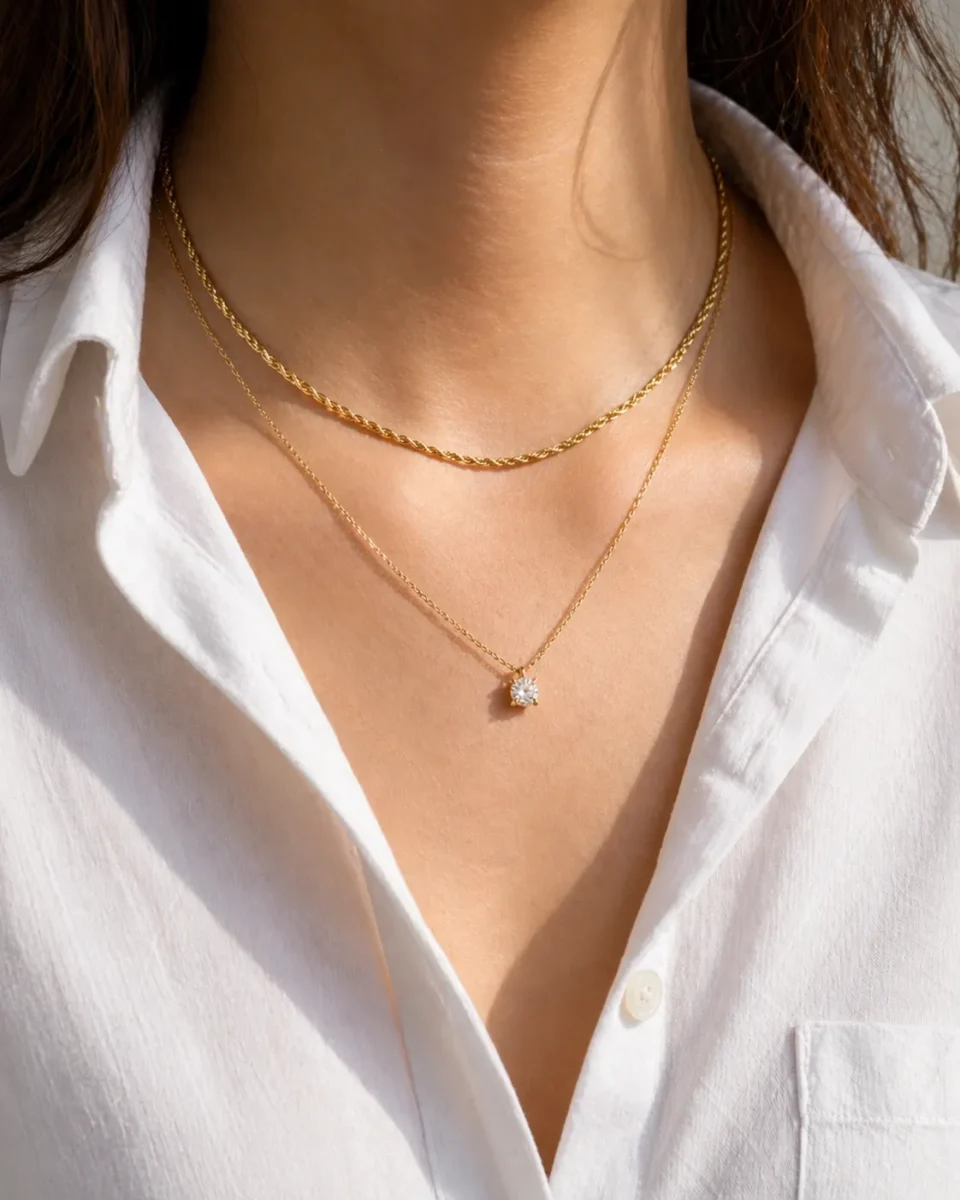
| Button-Down | Dainty Solitaire (16″) | Adds subtle sparkle inside the collar |
Before adding secondary chains, you must choose a gemstone necklace for your style that resonates with your personal narrative. Once your hero is set, the realm of spatial proportions begins.
Choose Your Supporting Cast (Secondary Chains)
Choose Your Supporting Cast (Secondary Chains)
Selecting your secondary necklaces isn’t about finding more “main characters”—it’s about choosing the right “backup singers” to make your Hero Piece pop. To avoid a cluttered “metal nest,” your secondary chains should serve a specific functional role based on your chosen Hero.
3 Pro-Styling Formulas for Your Stack
3 Pro-Styling Formulas for Your Stack
To ensure a cohesive look, match your secondary selection to the “visual DNA” of your Step 1 anchor:
Formula A: The Minimalist Frame (Best for Bold Medallions/Pendants)
- The Hero: A large gold locket or a 20″ vibrant gemstone pendant.
- The Support: Ultra-thin Cable or Box chains.
- Why it works: These “silent” layers provide subtle shimmer without distracting from the main pendant, acting as a clean frame for your statement piece.
Formula B: The Textural Contrast (Best for Polished Gemstones/Solitaires)
- The Hero: A smooth, high-shine Emerald or Moissanite solitaire.
- The Support: A Geometric Paperclip link or a Twisted Rope chain.
- Why it works: Mixing different physical “DNAs” prevents the stack from blending into a flat mass. The structural links provide a modern edge against the classic sparkle of the gem.
Formula C: The Echo (Best for Organic Shapes/Pearls)
- The Hero: A baroque pearl or an irregular raw-cut stone.
- The Support: A thin Beaded Satellite chain.
- Why it works: The tiny beads on the satellite chain “echo” the organic shape of the anchor throughout the stack, making the arrangement feel like a curated set rather than a random collection.
👉Pro Tip: Avoid using more than one “textured” chain (like a thick herringbone) in a single stack. Too much competing texture creates visual friction, making the jewelry look heavy and dated.
Master Necklace Layering Lengths with the 2-Inch Rule
Master Necklace Layering Lengths with the 2-Inch Rule
Visual order is the difference between a “curated stack” and “accidental clutter.” To achieve a professional look, you must respect the spatial “breathing room” between each chain.
The Science of 2-Inch Spacing
The Science of 2-Inch Spacing
This is the gold standard of necklace layering lengths. By maintaining a consistent gap, you create a rhythmic ladder of gold that keeps the chest area looking organized.
- 14-inch (Choker): Sits high on the neck.
- 16-inch (Princess): Rests just at the collarbone.
- 18-inch (Matinee): Typically holds your Hero Piece.
Adjusting for the Perfect Fit
Adjusting for the Perfect Fit
If your favorite chains don’t naturally fall into these increments, use adjustable extenders to bridge the gap. You can find more details on finding your ideal proportions in our necklace length and fitting guide. However, even with perfect spacing, gravity can be an enemy once you start moving.
How to Layer Necklaces Without Tangling via Strategic Weight
How to Layer Necklaces Without Tangling via Strategic Weight
The biggest fear of layering dainty necklaces is the dreaded “metal nest.” Learning how to layer necklaces without tangling is about using physics and gemstone density to your advantage.
The Gravity Anchor & Gemstone Density
The Gravity Anchor & Gemstone Density
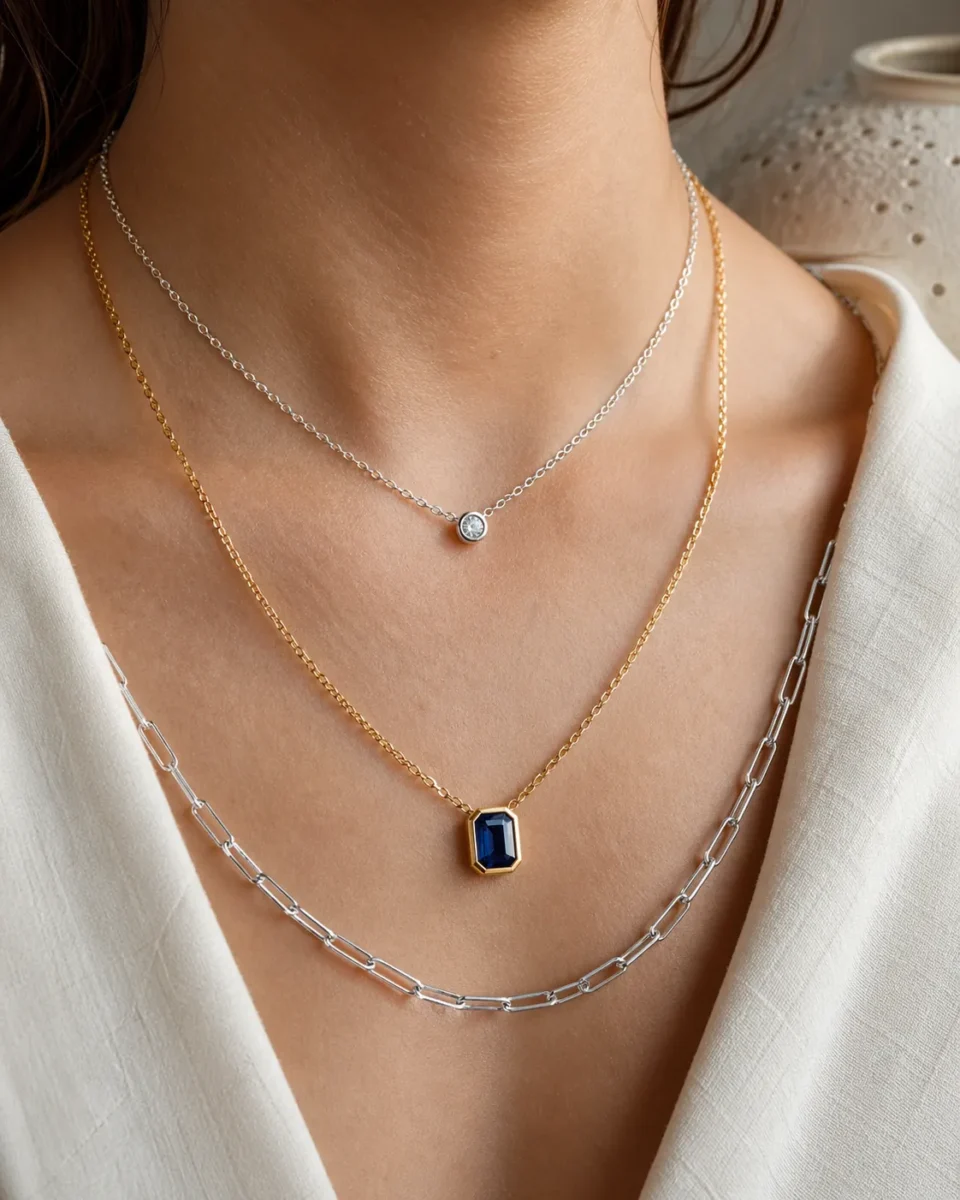
The trick is to use weight as a stabilizer. Not all pendants are created equal; dense gemstones like Sapphire and Ruby have a high specific gravity, making them excellent “anchors” that stay in place. Conversely, lighter materials like Pearls or Opals may shift more easily. Always place your densest, heaviest piece at the bottom of the stack to pull the entire arrangement downward, keeping lighter chains from migrating.
Using "Breaker" Chains
Using "Breaker" Chains
Avoid stacking three identical fine chains. Insert a “breaker” chain—something with more substance like a textured Paperclip or Rope style—in the middle. This acts as a physical barrier to prevent fine links from twisting. Once the chains are staying put, we can focus on the aesthetic soul of the stack.
Elevate Your Necklace Stack with Contrast and Texture
Elevate Your Necklace Stack with Contrast and Texture
A pro-level gold necklace stack relies on contrast. If every chain has the same finish, they blend into a flat, indistinct mass.
The Rule of Three Textures
The Rule of Three Textures
To create high-end depth, mix different light-reflective surfaces:
- Reflective: A smooth Snake chain.
- Structural: A geometric Paperclip link.
- Sparkling: A classic Diamond-cut Cable chain.
Breaking the Mixed Metal Taboo
Breaking the Mixed Metal Taboo
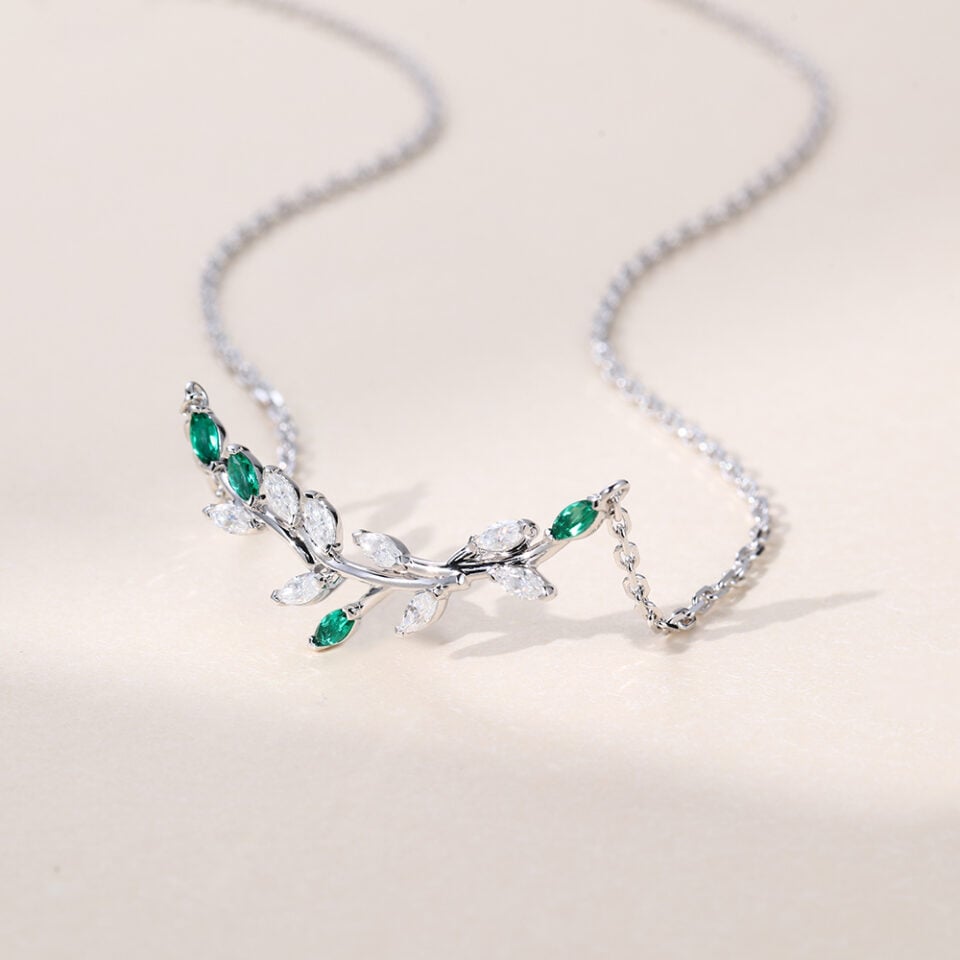
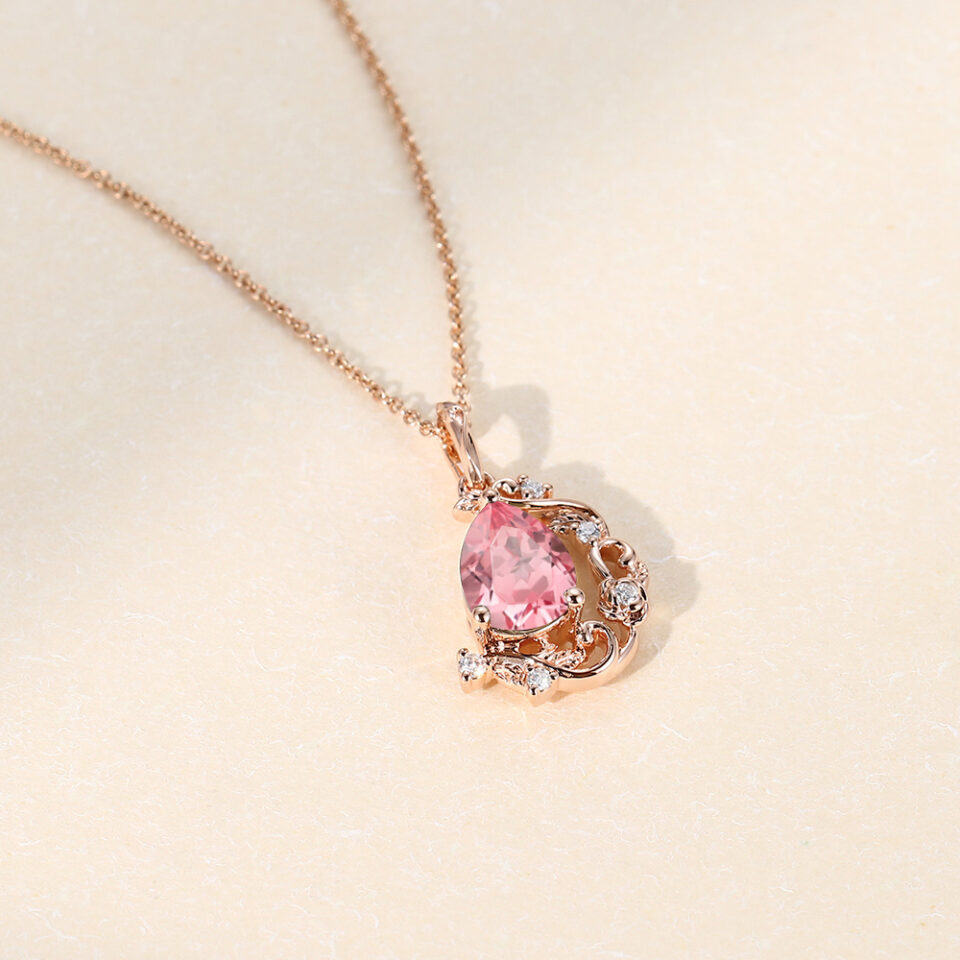
Don’t be afraid to mix gold and silver. Following our signature 80/20 styling rule, as long as one metal dominates, the contrast makes the stack look intentional. Matching jewelry to your natural skin tone is vital, but texture—and the contrast between different gemstones—is what provides the final “pop.”



Avoid Common Mistakes That Ruin Your Layered Look
Avoid Common Mistakes That Ruin Your Layered Look
Even the most carefully planned stack can fall victim to simple maintenance errors that scream “amateur.”
Clasp Migration Management
Clasp Migration Management
When you layer multiple pieces, the clasps often gravitate toward the back of the neck, creating a heavy cluster that pulls the front of your necklaces upward. Check your clasps periodically or use a “layering clasp” tool to keep them separated.
Material Compatibility and Hardness
Material Compatibility and Hardness
Mixing a high-karat gold chain with a cheaper plated piece can accelerate wear on the plated item. More importantly, be mindful of gemstone hardness: avoid layering a hard Diamond (Mohs 10) directly against a soft Pearl or Moonstone, as the friction can cause permanent scratches on the softer stone’s surface. If you’ve wondered why gold jewelry turns green, it’s often a result of these micro-interactions.
Final Thoughts: How to Layer Necklaces with Effortless Confidence
Final Thoughts: How to Layer Necklaces with Effortless Confidence
Mastering these rules gives you the foundation to build any look when you explore our versatile necklace collection. But the ultimate goal of jewelry is self-expression. Once you understand the 2-inch rule and weight distribution, you have permission to break them. Add a sentimental birthstone necklace even if it doesn’t fit the “texture” logic—confidence is the best accessory.

FAQ: Expert Tips for Mastering the Layered Trend
FAQ: Expert Tips for Mastering the Layered Trend
Is layering necklaces still in style for 2026?
Absolutely. The trend has shifted from “more is more” to “curated intentionality,” focusing on high-quality textures and meaningful pendants rather than mass-produced costume pieces.
How to layer necklaces for everyday wear?
Keep it simple with a two-piece stack. Pair a dainty 16-inch chain with an 18-inch small pendant for perfect balance. Use durable 14K gold to ensure a polished, low-maintenance look that stays effortless throughout your daily routine.
What length should layering necklaces be for a standard V-neck?
While buying a bridal set ensures a perfect metal match, curating your own necklace allows for a more “collected” and personal style that doesn’t feel like a uniform.
Should the gold karat of my necklace match my engagement ring exactly?
Start with a 16-inch base and drop to an 18-inch or 20-inch hero pendant to follow the natural line of the V-shape.
Should necklace layers always be the same metal?
No. Mixing metals (like 14K yellow gold and white gold) is highly encouraged in modern styling to add contemporary edge and versatility to your wardrobe.
What's the best chain style to prevent tangling?
Heavier link styles like the Wheat chain, Rope chain, or a thick Paperclip chain provide the necessary weight to stay in place compared to ultra-light cable chains.
What is the ultimate trick for layering necklaces without them tangling?
The “Gravity Anchor”: Always ensure your longest necklace has the heaviest pendant to keep the entire stack pulled taut and separated.